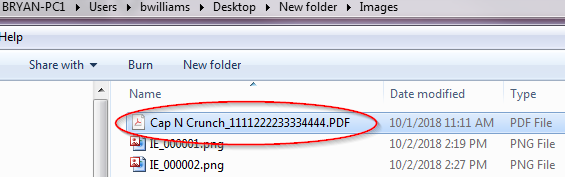
A new property of an image type code is that it can automatically export an image to a defined network path along with the option to create a custom naming method. This automation will occur when a non-compact image is added to the Imaging list or a compact document (see above description) is converted to a Normal document or to PDF format.
This feature is extremely helpful if you are creating documents for e-filing as it will save you the step of exporting these files for transmission to the court.
Note: This is a Version 9 Feature. For information on obtaining Version 9 or any other optional Module, please contact the Sales Department.
With Version 9, images can be exported to separate location when they are added to the debtors’ accounts.
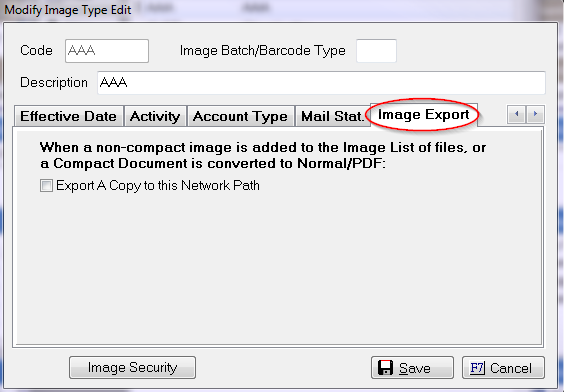
To set this up, go to Definitions>Codes>Image>Image Type.

Select the image type and click Modify, or click New button to create a new image type.
This will bring up the Modify Image Type window. Go to the tab farthest to the right, called Image Export.
Check the option to Export a Copy to this Network Path, and fill in the directory where you would like the images to be exported.
Note: When a document merged in CollectMax is sent to Images, it is saved as a “Compact Image” in order to conserve space. These images must be converted to a Normal Word document or PDF in order for the export to work.
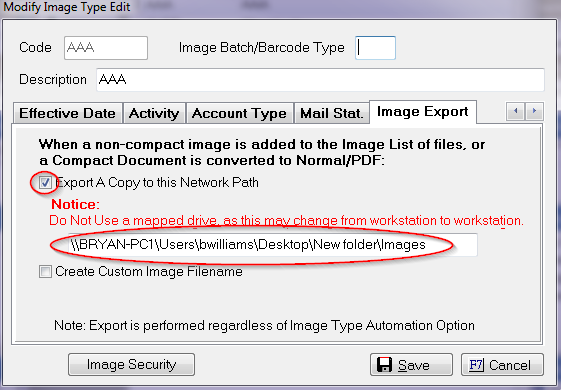
Note: Since not everyone in your office may their network drives labeled the same, we highly recommend you enter a UNC path as opposed to a mapped drive.
You can also create custom file names for your images, by checking the option and clicking the box to the right.
This will bring up the Variable Custom Text Editor.
Use the drop down list to select the variables you would like to use.
The Test button will allow you to preview the output.
Note: You must be aligned to an account in order to use the Test button.

As you can see, the debtor name and reference number are populated.

Note: The export does not observe any automation rules. This means that if you have a date field as part of your custom name, that date field in the name may be different than the value of the actual field on the debtor account.
When you are happy with you options, click the Save button.
Once you import an image with the type you have set up (and converted if necessary), a copy will be sent to the directory specified in the image type.